Neon Migration Assistant
Move your existing database to Neon using our guided tool
When you're ready to move your data to Neon, our Migration Assistant can help. Aimed at databases in the 100 to 200 GiB range, you need only the connection string to your existing database to get started.
Early Access
This feature is available for members of our Early Access Program. Read more about joining up here.
How it works
Enter your current database connection string, and the Assistant will:
- Run some preliminary checks on your database. If necessary, you'll be prompted to make changes to your source database before proceeding.
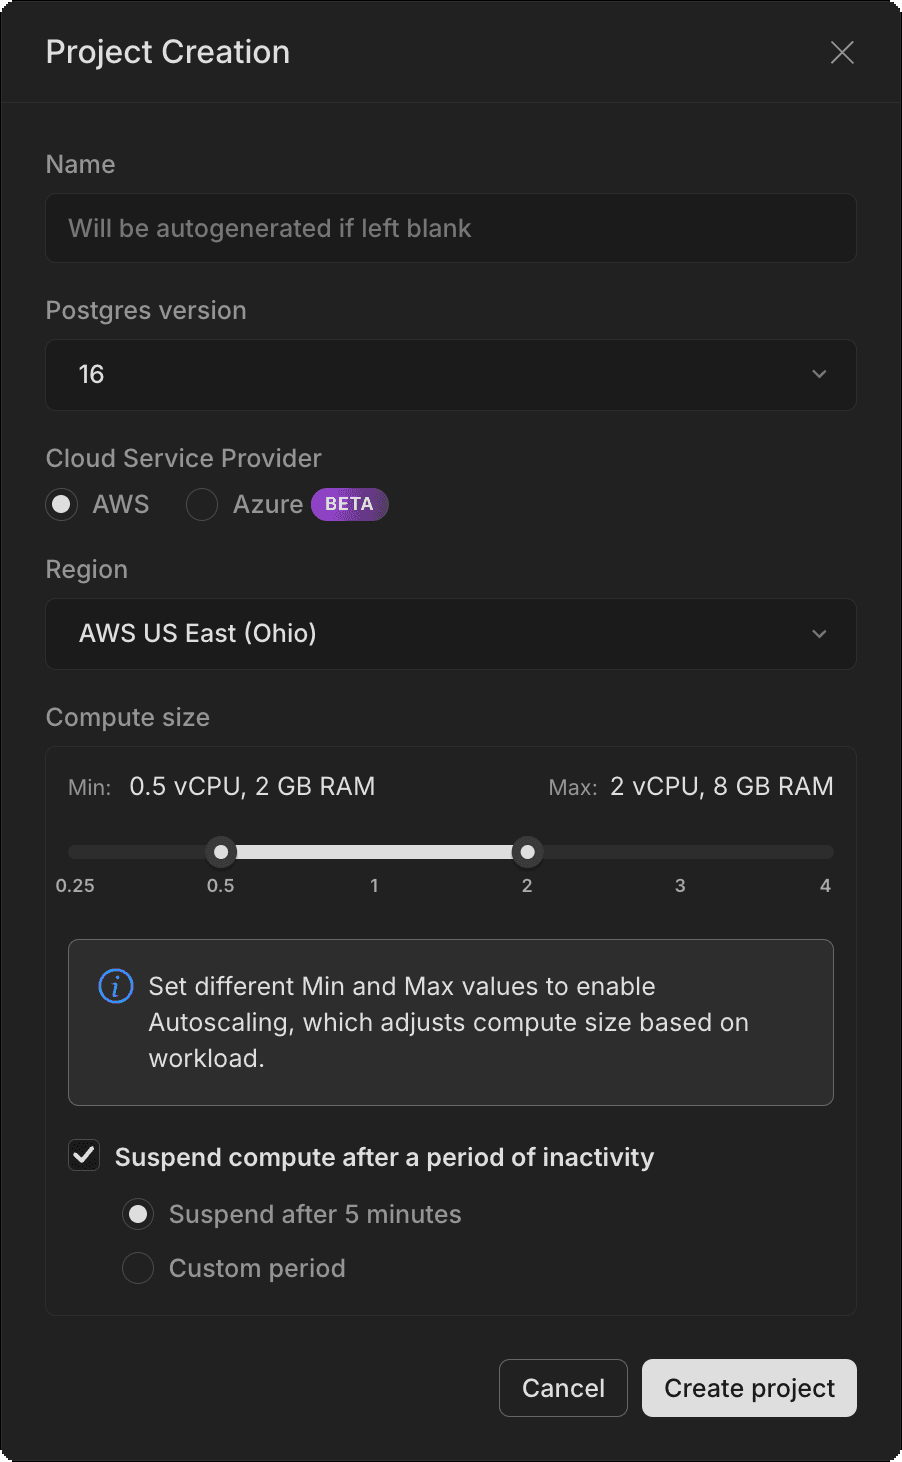
- Based on these initial checks, the Assistant tries to create a Neon project that best matches your environment, such as region and Postgres version.
- The Migration Assistant provides
pg_dumpandpg_restorecommands to transfer your data, pre-populated with the correct connection strings. - It helps you set up logical replication if that makes sense for your migration.
Future versions will add more automation to these steps.
When to include logical replication
Logical replication can help reduce downtime during migration by continuously propagating changes from your source database to your new Neon database, allowing for a shorter cutover period when you're ready to switch.
Before you start
You'll need the following to get started:
-
A Neon account. Sign up at Neon if you don't have one.
-
A connection string to your current database. Postgres connection strings use the format:
postgresql://username:password@host:port/database?sslmode=require&application_name=myapp -
Admin privileges or appropriate Postgres privileges on your source databases to perform the migration tasks. Using a superuser or a user with the necessary
CREATE,SELECT,INSERT, andREPLICATIONprivileges is recommended.
Step 1 — Check compatibility
Enter the connection string from your source database.

Neon will check the availability and configuration of your source database to help make sure your migration will be successful:
- Postgres version — Verifies that your source database uses a version of Postgres that Neon supports (Postgres 14 to 17).
- Region — Checks the hosting region of your source database.
- Supported extensions — Identifies whether your extensions are supported by Neon. Unsupported extensions are listed, but you are not blocked from continuing the migration. Use your discretion.
- Compatible extensions — Checks that your extension versions match Neon's current support. See Supported Postgres extensions for a matrix of extensions to Postgres versions in Neon.
- Logical replication — If logical replication is not enabled on your source database, you will see a warning message. You'll need to enable it if you intend to set up replication as part of the migration. Enabling logical replication in Postgres typically requires setting
wal_level=logical. Check your provider's documentation for instructions.
Step 2 — Create a Neon project
By default, we try to create your new project to match your source database:
-
Matching Postgres version
-
Matching region
note
This is an early feature and may not work for all regions or providers.
You can modify any of these settings to suit the needs of your database, such as the host region, autoscaling range, and so on.
See Create a project for more details about these options.

Step 3 — Move data to Neon
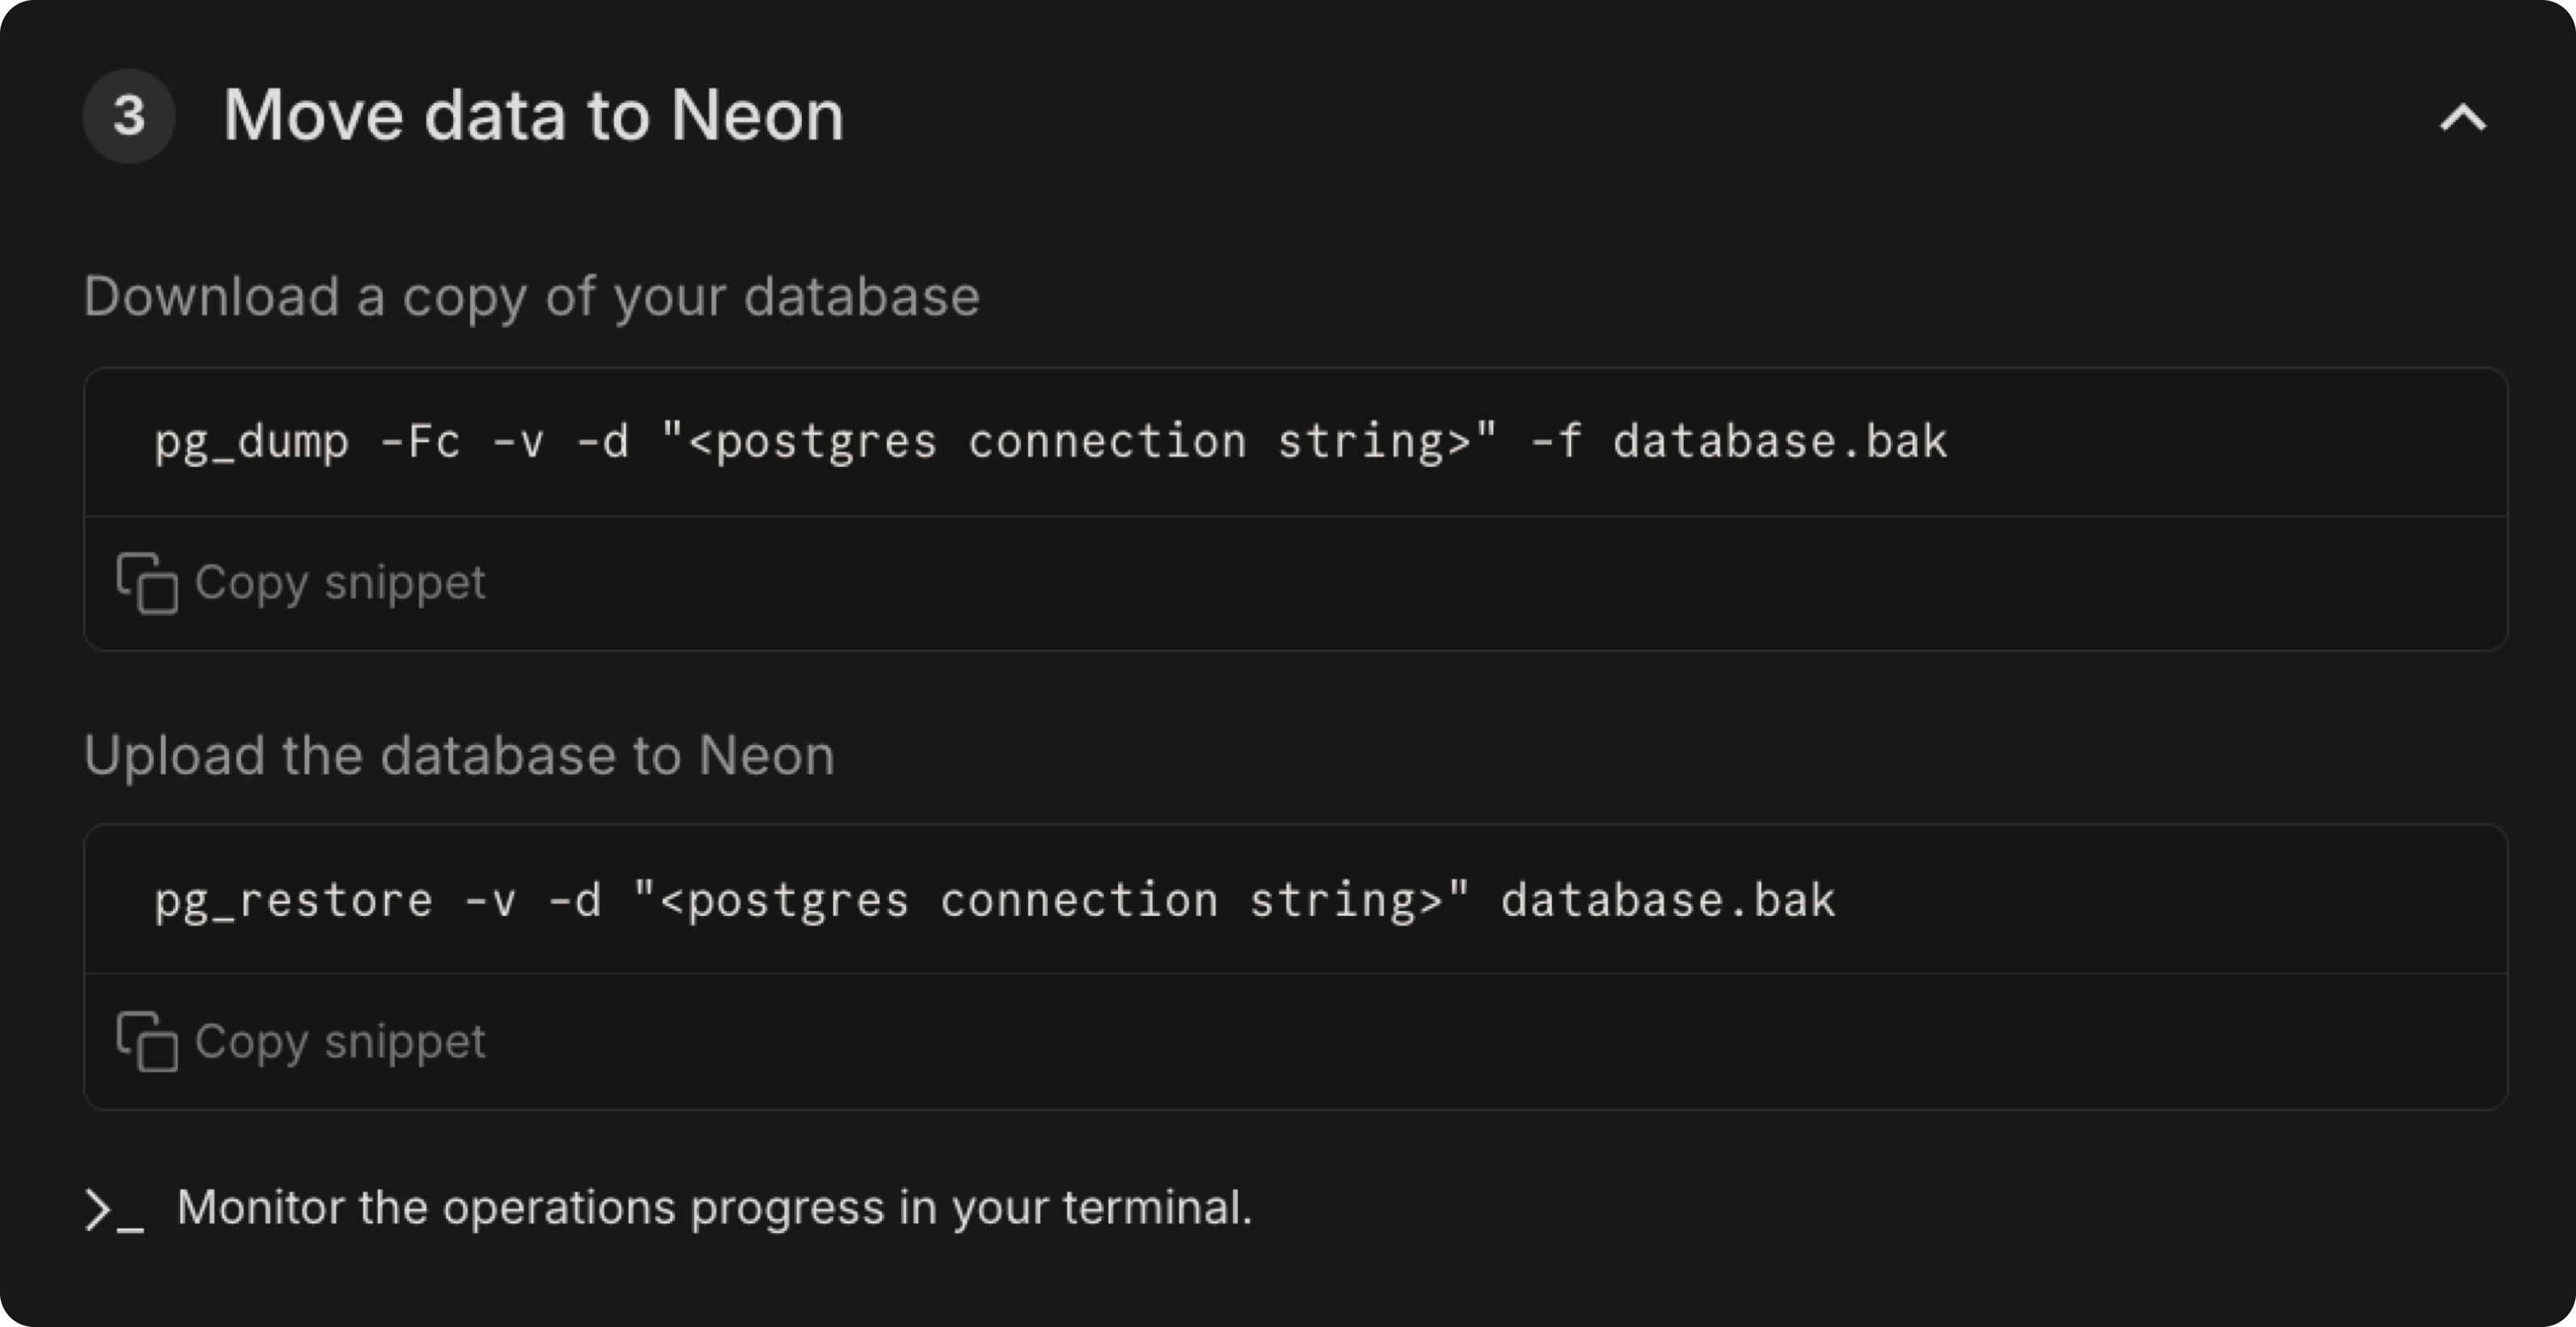
Next, we'll send you to the command line. We generate the pg_dump and pg_store commands, pre-populated with the correct connection strings and required parameters.

The pg_dump command is populated with your source database:
pg_dump -Fc -v -d "postgresql://<username>:<password>@<source_host>:<source_port>/<source_database>" -f database.bakThe pg_restore command uses the connection string for the database in your newly created project in Neon:
pg_restore -v -d "postgresql://<username>:<password>@<destination_host>:<destination_port>/<destination_database>" database.bakFor more detailed instructions about using these commands, see Migrate data using pg_dump and pg_restore.
Step 4 — Set up logical replication
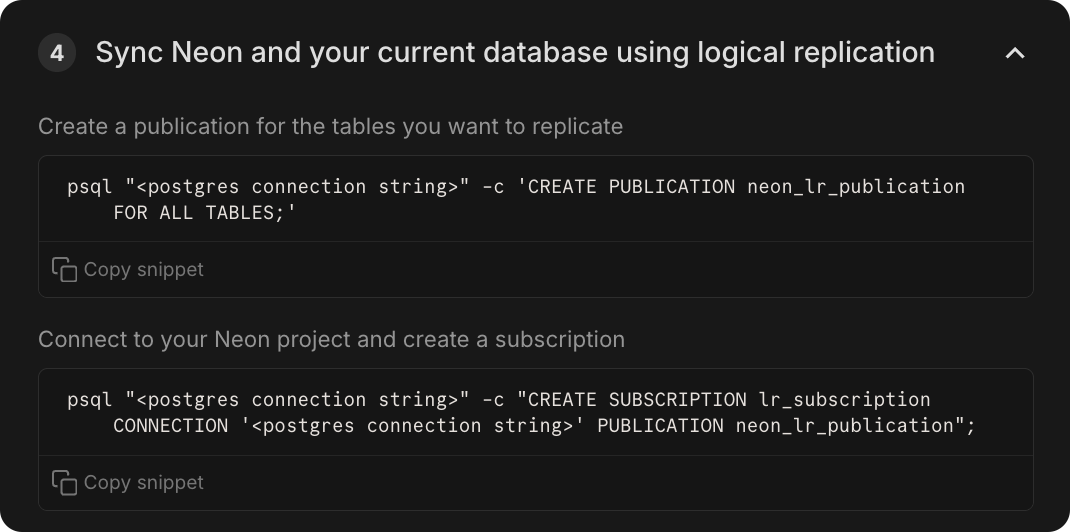
If you want to set up logical replication, we provide you with the psql commands for setting up your source database as the publication and your new Neon database as a subscriber.

After running the first CREATE PUBLICATION command, you may want to check that the operation was successful by running this on your source database:
SELECT * FROM pg_replication_slots;Once you've run your CREATE SUBSCRIPTION command, check if the subscription was successful:
SELECT * FROM pg_stat_subscription;Sample response:
subscription_name |  subdbid  |     pid     |   active   |    synced    |   last_event  |  last_error  |  lag  |  subscription_type
------------------|-----------|-------------|------------|--------------|---------------|--------------|-------|-------------------
 lr_subscription  |    12345  |   987654321 |    true    |    true      | 2024-11-12    |   NULL       |   0   |   logical
For more details about configuring logical replication or general migration from some common providers, see:
And for more information about logical replication in Neon, start here: Logical replication concepts
Next Steps
If you're completing a one-time migration of your data into Neon:
-
Verify data integrity by running some queries and checking that tables and data are present as expected in Neon.
-
Turn off logical replication once you're confident the final changes have been synced to Neon. You can drop the replication subscription on Neon (Subscriber) with the following command:
-- On Neon (Subscriber)
DROP SUBSCRIPTION lr_subscription;
Also, remove the logical replication slot on the publisher (source) to clean up:
-- On the source (Publisher) SELECT pg_drop_replication_slot('schema_sync_slot'); -
Switch over your application by updating your connection string to point to Neon. You can find your connection details on your project Dashboard. See Connect from any application for more information.